Vietnam Pre-Arrival Declaration: A Step-by-Step Guide (2026)
If you’ve flown into Vietnam before, you probably remember how simple it used to be — just a passport and a return ticket, and you were through immigration in minutes. That changed in 2026. Vietnam now requires a Vietnam Pre-Arrival Declaration for foreign visitors arriving through several major airports. My family went through this process ourselves before a recent trip to Da Nang, and this post walks through exactly what the screens look like and what to expect, wherever in Vietnam you’re headed.
1. What Is the Vietnam Pre-Arrival Declaration (PAI)?
The Vietnam Immigration Department, under the Ministry of Public Security, introduced an online Pre-Arrival Information (PAI) system starting April 15, 2026 at Ho Chi Minh City’s Tan Son Nhat Airport (SGN) and Hanoi’s Noi Bai Airport (HAN). From June 15, 2026, the system expanded to Da Nang International Airport (DAD) and Phu Quoc International Airport (PQC) as well.
The idea is similar to the online arrival systems used in countries like China or Taiwan: travelers submit their passport and trip details online before landing, and in return receive a QR code that’s shown at immigration alongside the passport. There is no separate paper arrival form to fill out anymore for travelers arriving at these airports — PAI has replaced it.
Right now, PAI covers four airports — Ho Chi Minh City, Hanoi, Da Nang, and Phu Quoc. Other popular gateways, such as Nha Trang’s Cam Ranh Airport, aren’t on the list yet, but given how quickly the rollout has moved so far, further expansion seems likely. If you’re flying into an airport not covered here, it’s worth checking the official site again closer to your travel date.
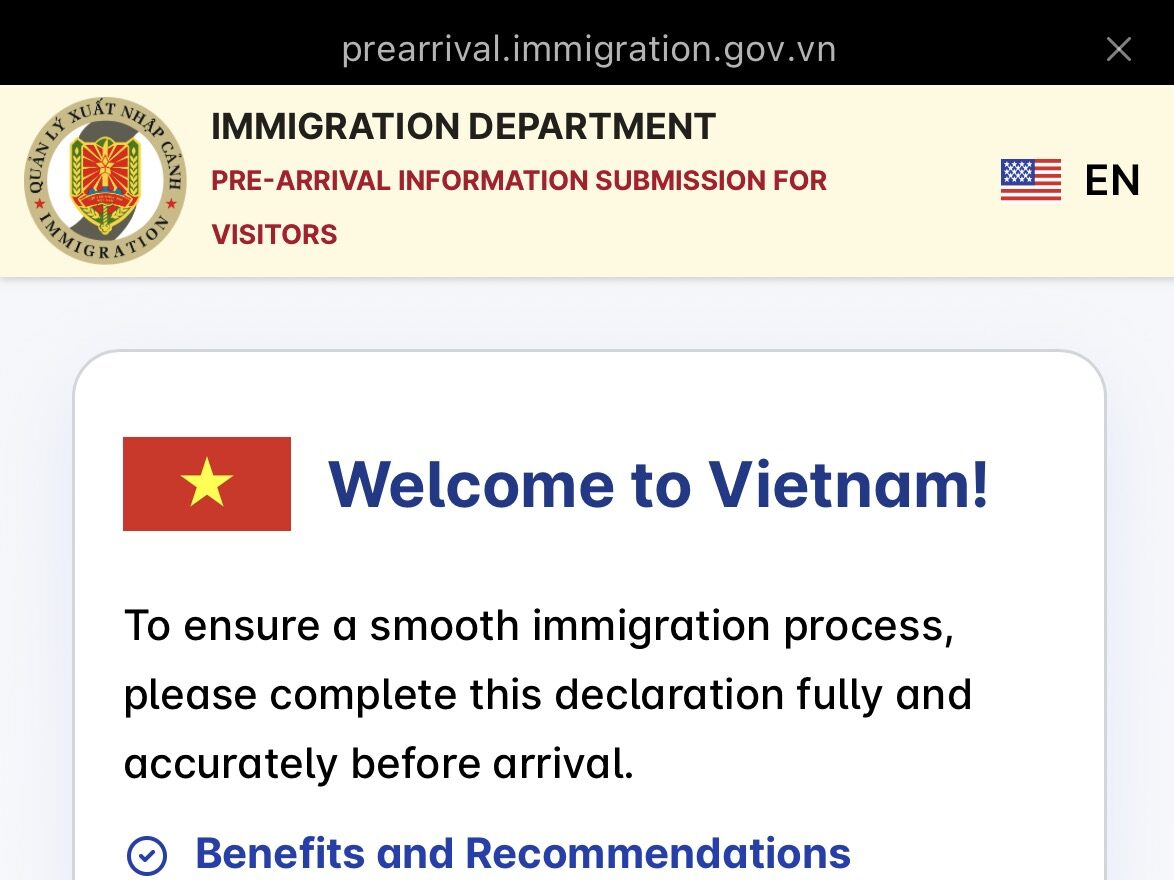
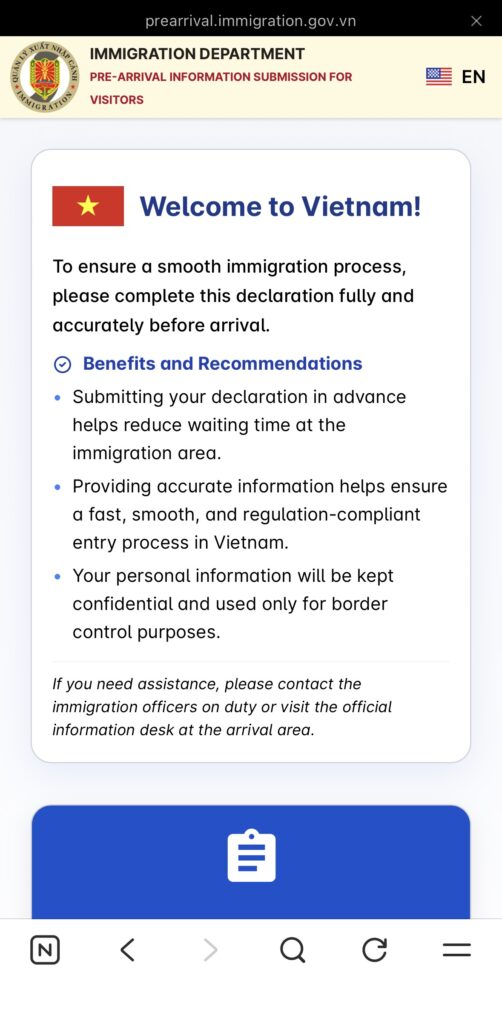
Important: the only official site is https://prearrival.immigration.gov.vn, and the declaration is completely free. Several third-party sites have popped up offering to file it for a fee — there’s no need to use them, and we’d recommend sticking to the official portal only.
2. Before You Start: Key Things to Know
A few details matter more than they might seem at first glance.
You can only submit within 72 hours of arrival. The system is date-locked — if your flight is more than three days away, the arrival date simply won’t be selectable yet. Don’t try to get ahead of it; plan to fill this out about three days before departure.
Passport details must match exactly. Your English name, date of birth, and passport number need to be entered without a single character of difference from your passport. A common source of error is confusing the number 0 with the letter O — worth double-checking manually even after auto-fill.
Save your QR code offline. Once approved, the QR code arrives by email. Airport Wi-Fi can be unreliable, so it’s safer to screenshot or download the QR code as a PDF before you leave home, rather than trying to pull it up on arrival.
Use an email you can check in real time. Both the OTP verification code and the final QR code are sent by email, so this needs to be an inbox you can access instantly during the process.
3. How to Fill Out the PAI Form: Screen-by-Screen
No app download is required — the form works directly in a mobile or desktop browser at prearrival.immigration.gov.vn. Here’s the order of screens as we went through them.
Step 1: Set the Language
On your first visit to the site, click the flag icon in the top right corner and switch to your preferred language.
Step 2: Start the Declaration
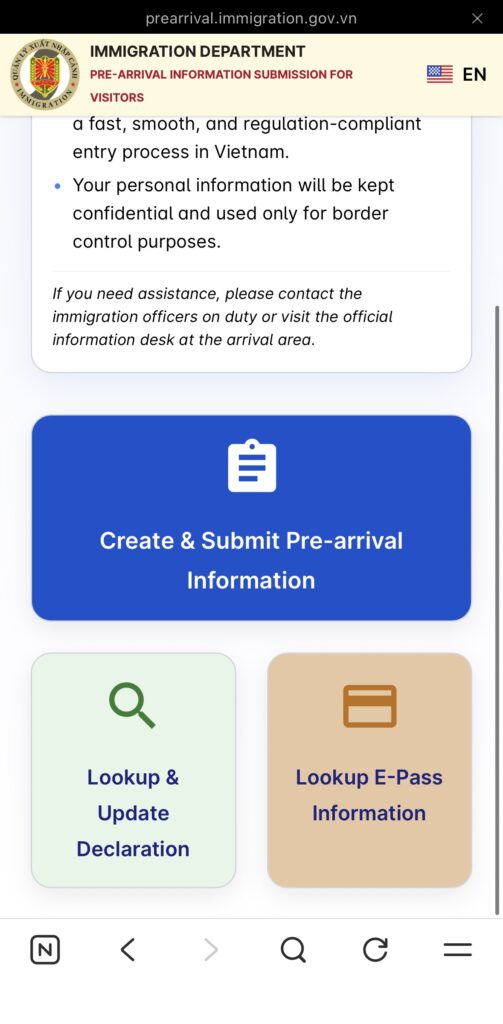
On the homepage, click the blue button to begin a new declaration. (There are separate buttons for looking up an existing submission or checking E-Pass status — ignore those for a first-time filing.)
Step 3: Complete the CAPTCHA
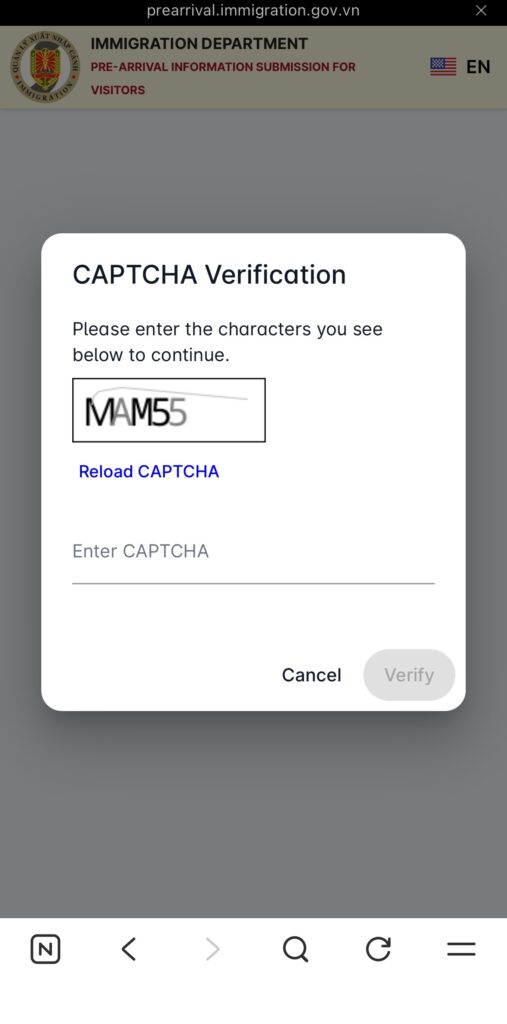
A standard CAPTCHA appears to confirm you’re not a bot. Enter the characters exactly as shown, paying attention to upper and lower case.
Step 4: Select Nationality
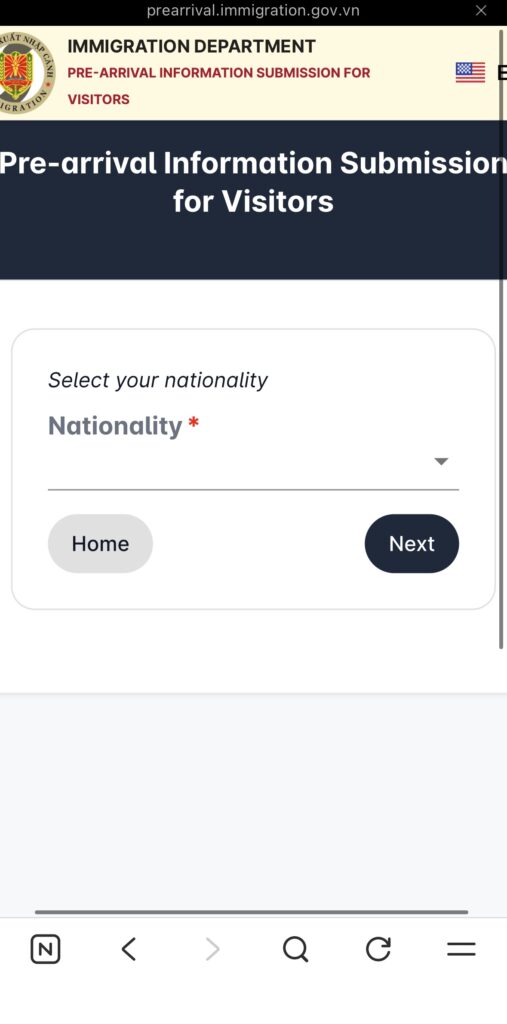
Choose your nationality from the dropdown (for Korean travelers, “Republic of Korea”) and continue.
Step 5: Enter Passenger Information
This is the longest section. You’ll enter:
- Expected arrival date (only selectable within the 72-hour window)
- Passport type (a standard passport is “P – Popular Passport”)
- Passport number
- Expiry date (must be valid at least 6 months beyond your arrival date)
- Last name and first name, exactly as printed in your passport
- Date of birth
- Email address
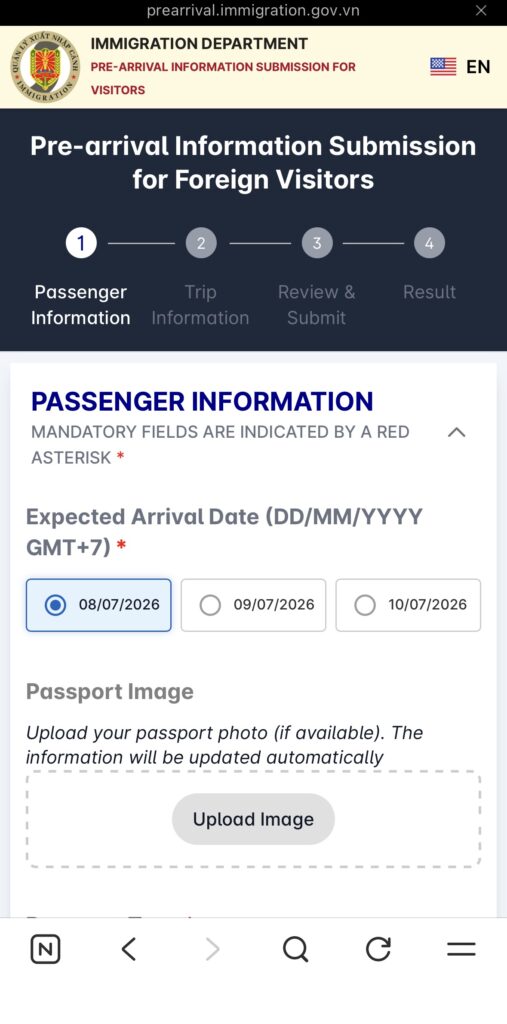
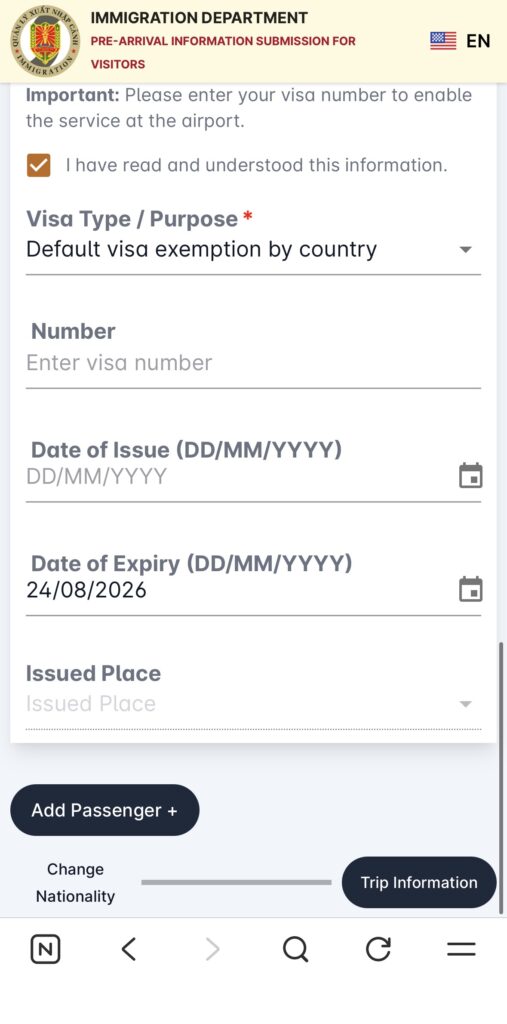
Many travelers upload a photo of the passport information page, which auto-fills several of these fields — but it’s worth manually re-checking every field afterward rather than trusting the scan blindly.
For the visa section, you’ll need to check a box confirming you’ve read the visa information before the dropdown becomes selectable. Korean travelers typically select the applicable visa exemption category. If you’re traveling as a family or group, there’s an “Add Passenger” option that lets one person register everyone together — useful if you’re traveling with kids, since every entrant needs their own declaration regardless of age.
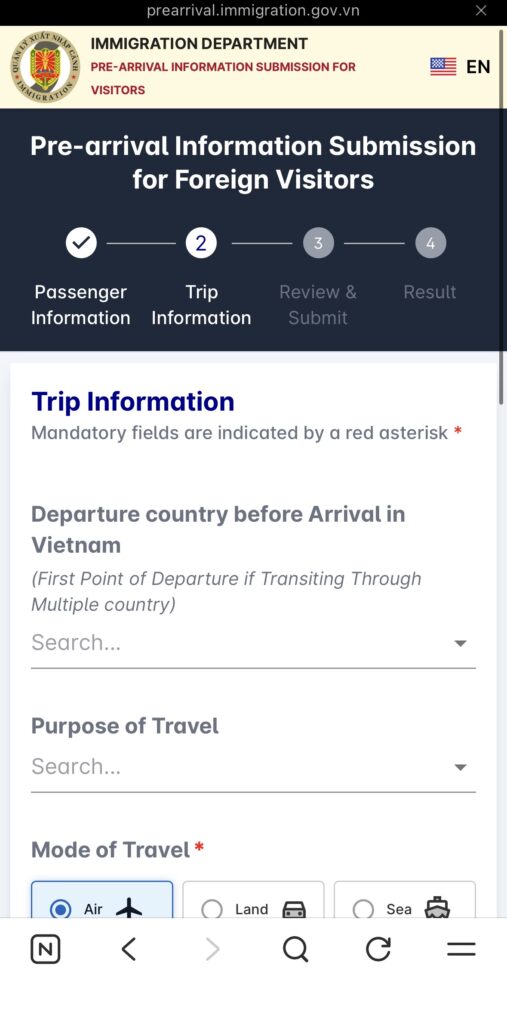
Step 6: Enter Travel Information
Next comes trip details:
- Country of departure before arriving in Vietnam (for a direct flight from Korea, “Republic of Korea”)
- Purpose of visit (e.g., tourism)
- Mode of transport (air, for flights)
- Flight number
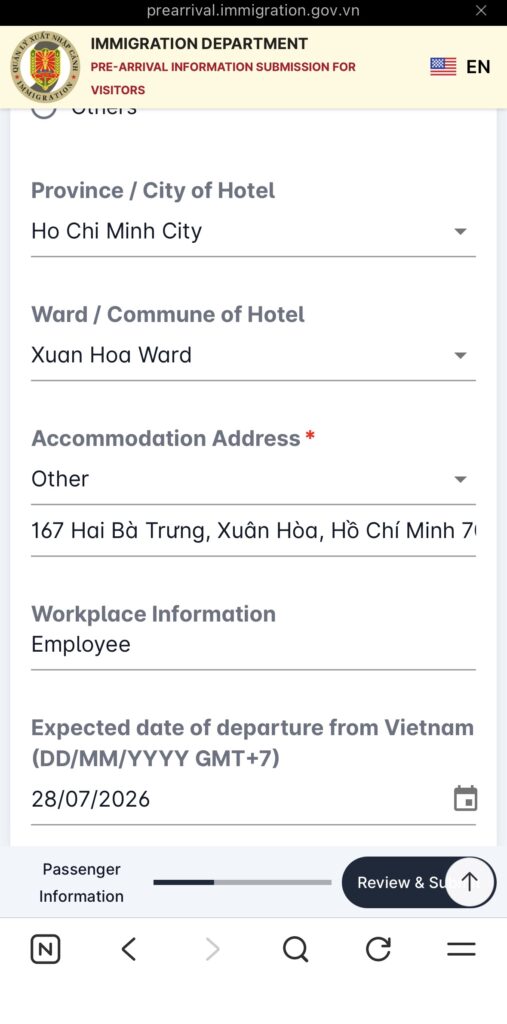
- Port of entry — select the airport matching your arrival: Ho Chi Minh City is “SGN,” Hanoi is “HAN,” Da Nang is “DAD,” and Phu Quoc is “PQC”
- Accommodation address (hotel name and location; searchable from a dropdown, or entered manually if not listed)
- Planned departure date from Vietnam
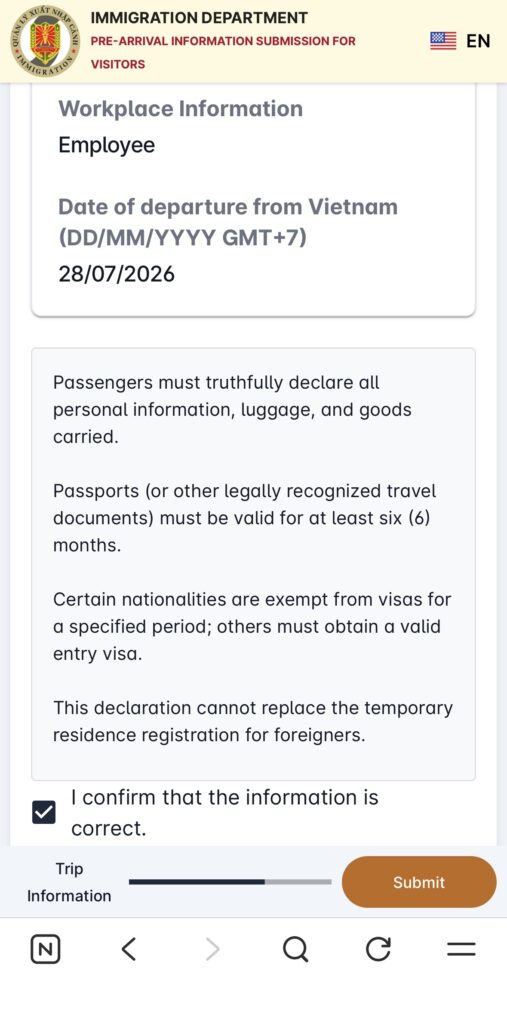
Step 7: Review and Submit
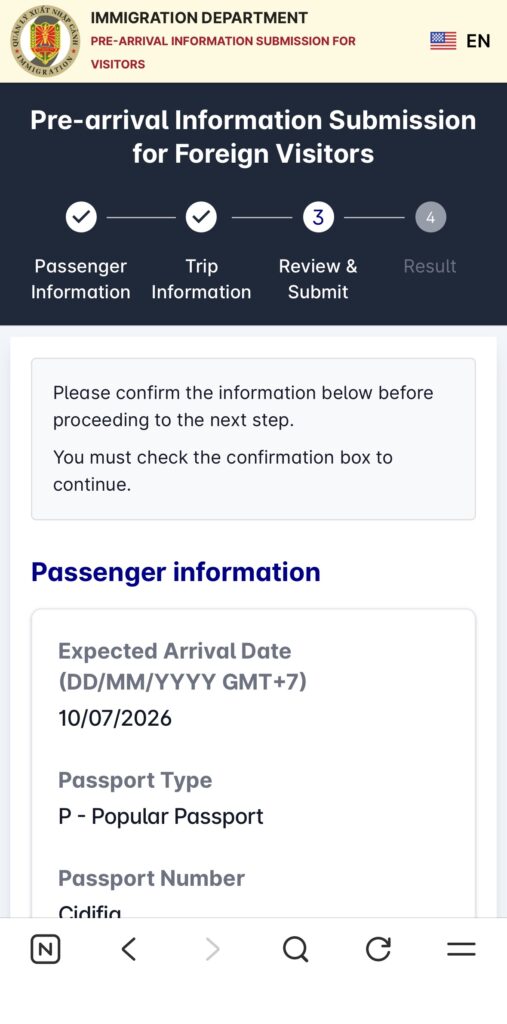
You’ll see a summary screen with everything you entered — passenger and travel information together. Check it carefully, since corrections after submission require going through the lookup system again.
After submitting, an email verification screen appears. A 6-digit OTP is sent to the email address you provided, and it needs to be entered within a few minutes, or you can request a new code if it expires.
Step 8: Receive the QR Code
Once verified, you’ll see a confirmation that the declaration has been received. Shortly after, an email arrives with your PAI reference number and QR code attached. Save this QR code — you’ll present it alongside your passport at the immigration counter on arrival.
4. What Happens at Immigration
At the counter, you simply hand over your passport along with the saved QR code. Based on our own experience with Vietnamese immigration in the past — including many transits through Ho Chi Minh City back when there was no direct flight from Penang to Korea — officers rarely ask more than basic questions about purpose of visit or length of stay. The process itself hasn’t gotten more intrusive; it’s just shifted from a paper form to a QR code.
5. About the Health Declaration
Vietnam had also planned to introduce a mandatory health declaration starting July 1, 2026. As of this writing, that requirement has been postponed indefinitely, and there is no confirmed new start date. Travelers currently do not need to submit a separate health declaration — but since this could change, it’s worth checking again closer to your departure date.
6. Traveling With Children Under 14: Extra Documents to Bring
If you’re traveling with kids, there’s a second requirement separate from the PAI declaration that’s worth knowing about. Under Article 21(2) of Vietnam’s Law on Entry and Exit, children under 14 can be denied entry if they aren’t accompanied by a parent, guardian, or someone formally authorized by a parent. This isn’t something you fill out online — it’s a physical document to bring with you.
If Traveling With at Least One Parent
Bring an English-language family relationship certificate (가족관계증명서) for each child.
Legally, if at least one parent is present, no extra document is strictly required. In practice, though, it’s still worth carrying one. Korean couples very often have different surnames on their passports (for example, father KIM, mother LEE, child KIM), and if an immigration officer asks to confirm the relationship, a document that lists only an address — like a standard resident registration copy — doesn’t prove parentage the way a family relationship certificate does.
If Traveling Without Either Parent (Grandparents, Relatives, School Groups, etc.)
- An English-language family relationship certificate
- A consent letter (위임장) from at least one parent, translated into Vietnamese or English and notarized
The consent letter needs to explicitly state that the parent is entrusting the child to the accompanying guardian for the duration of the trip. Without it, entry can be refused at the airport.
How to Get the English Family Relationship Certificate
For Korean travelers, this is issued online through the Korean court system’s electronic family relationship registration site (efamily.scourt.go.kr). Select “travel” or “proof of minor’s guardian” as the reason for issuance. One detail worth double-checking: the English spelling of the parents’ names on the certificate — including spacing — needs to match the passport exactly.
We packed printed copies for both kids before our own trip. Officers don’t ask every time, but enough travelers have reported being stopped at the counter without it that it felt worth the extra five minutes to prepare.
Frequently Asked Questions
Q1. Can one family member submit the Pre-Arrival Declaration for everyone? Yes. During the passenger information step, you can use the “Add Passenger” function to register up to several travelers in one submission, including children. Each person still receives their own individual QR code by email.
Q2. How early can I submit the declaration? Only within 72 hours (3 days) of your scheduled arrival time. The system won’t let you select an earlier date.
Q3. Do I need to submit a declaration again if my flight changes? Yes — use the “Check/Update Declaration” option on the homepage, look up your submission using your PAI number and passport number, and you’ll be able to verify and amend the details after another OTP check. It helps to save your PAI number from the confirmation email in advance.
Q4. Is the Pre-Arrival Declaration required for children? Yes, every entrant needs a declaration regardless of age, but a parent or guardian can register the whole family in a single session using the “Add Passenger” feature.
Q5. Is there a fee to submit the declaration? No. The official portal at prearrival.immigration.gov.vn is completely free. Be cautious of third-party websites charging a service fee for the same process.
Q6. Do I need to upload the family relationship certificate into the PAI system? No. The PAI declaration and the family relationship certificate are two separate things. PAI is submitted online and produces a QR code; the family relationship certificate is a physical (or PDF/printed) document you carry and present only if an immigration officer asks to confirm your relationship with your child.